
Aloe vera is one of the most popular and easy-to-care-for succulents, known for its soothing gel and striking appearance. Whether you’re a gardening enthusiast or just starting, propagating aloe vera is a fun and rewarding way to expand your plant collection.
This guide will walk you through different propagation methods, including separating pups, growing from stem cuttings, and even starting from seeds. You’ll also learn essential tips on caring for your new aloe plants to ensure they thrive for years to come.
Table of Contents
ToggleWhat You’ll Need
Tools:
- A sharp knife
Materials:
- Succulent potting mix
- 4-inch pots with drainage holes
How to Propagate Aloe Vera Pups?
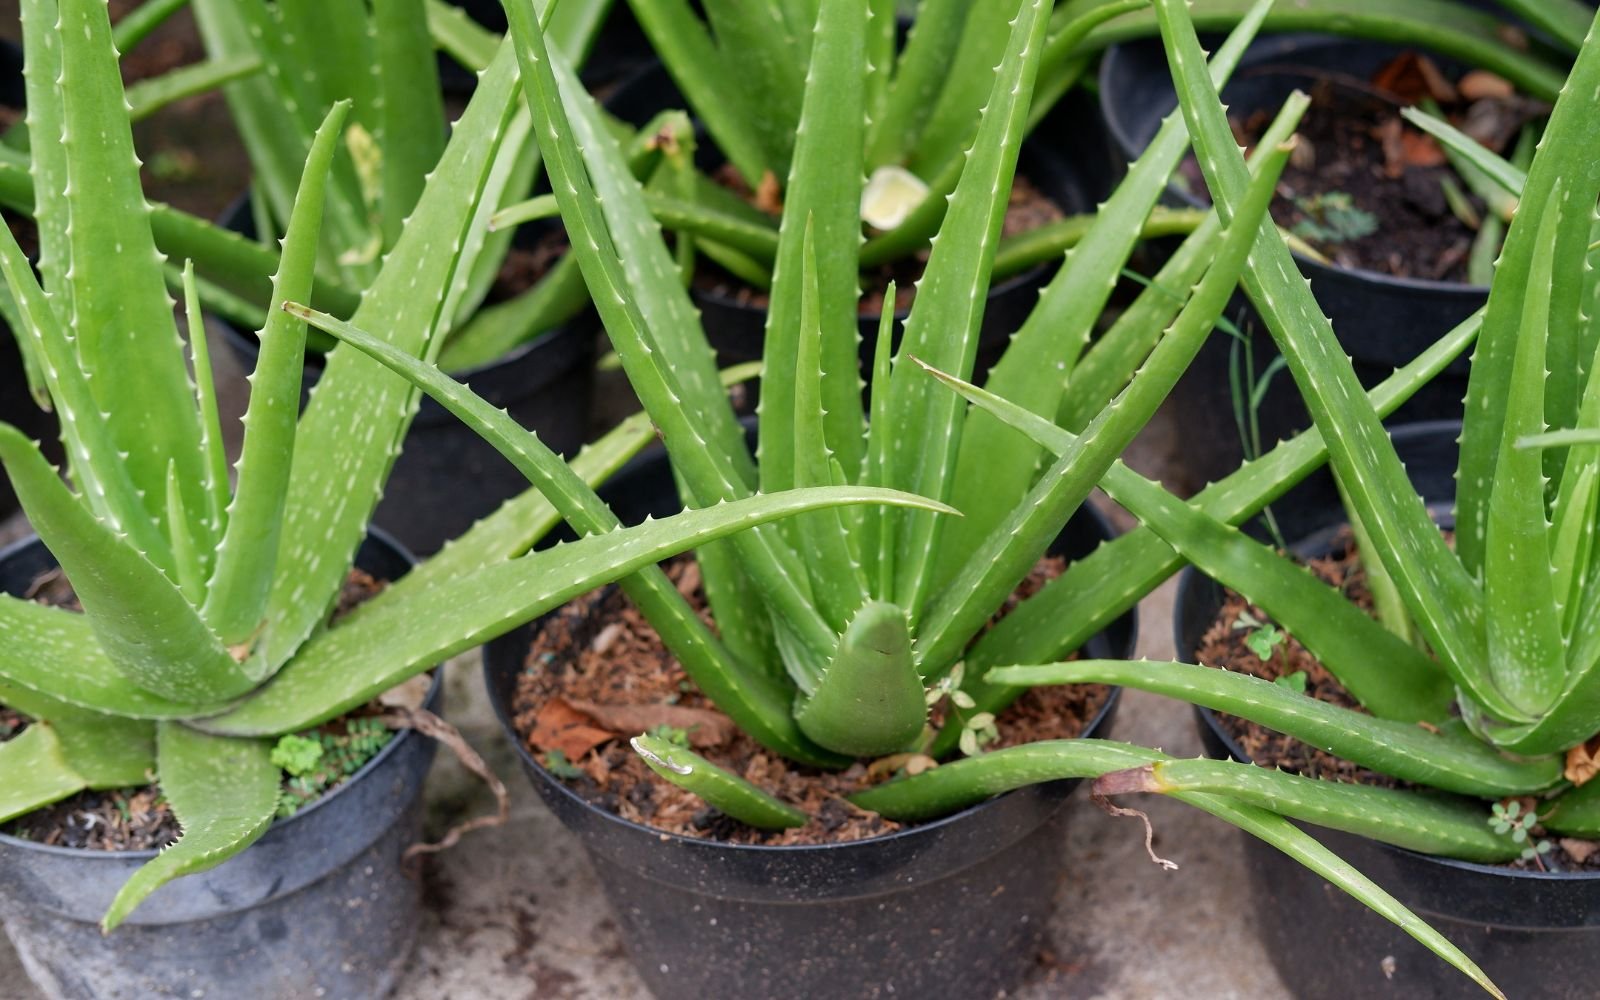
As your aloe vera plant matures, it will grow little offshoots, or “pups,” around its base. These baby plants can eventually make the pot overcrowded. But you don’t have to wait that long to propagate them—once the pups have a few sets of leaves, they’re ready to be transplanted.
Step 1: Remove the Pups from the Mother Plant
Start by gently removing the entire aloe plant from its pot. The easiest way is to tilt the pot, grip the base of the main plant, and carefully lift it out. If the roots are stuck, use a dull knife to loosen the soil along the edges of the pot. The goal is to remove the mother plant and its pups with intact roots.
Once the plant is out, locate where the pups are attached. Using a clean, sharp knife, carefully separate them. Ideally, each pup should have its roots, but if some don’t, don’t worry—they’ll develop roots once planted. If the roots are tangled, gently pull them apart.
Before moving on, inspect the roots and leaves, trimming away any dried or brown parts with a sharp knife.
Step 2: Let the Pups Callus Over (Optional)
If the pups already have roots, you can plant them right away. However, if they don’t, it’s best to let them dry out first. Place them on card board or newspaper in a cool, dark place for 24 to 48 hours. This helps the cut ends form a protective callus, which reduces the risk of rot.
Step 3: Replant the Pups
Now it’s time to pot the pups! Choose small, 4-inch pots with drainage holes. Fill them with a well-draining succulent mix, or mix regular potting soil with perlite, sand, or small rocks for better drainage.
Make a hole in the center of the soil and gently place the pup inside, ensuring the base sits just above the soil line. Fill in the rest of the pot with soil, pressing lightly to keep the pup stable. Leave about half an inch of space from the rim of the pot to prevent overflow when watering.
Finally, give the mother plant a fresh start, too—wash out the original pot with warm, soapy water and replant it with new succulent soil.
Propagating Aloe Vera from Stem Cuttings
If your aloe vera is looking stretched out, overwatered, or damaged, stem cuttings can be a great way to save it. While this method isn’t as foolproof as separating pups, it can still be effective with the right care. It’s especially useful if your aloe plant has grown tall and leggy, making it look weak and unstable.
Unlike some succulents that can easily root from cut leaves, aloe vera cuttings require a bit more attention. The key to success is ensuring that part of the stem is attached to the leaf and allowing enough time for pups to sprout before planting them.
Step 1: Cut Off the Parent Plant
Start by using a clean, sharp knife to cut the aloe vera plant at its base, just above the soil line. This may seem drastic, but don’t worry—the remaining roots in the pot will eventually sprout new growth.
Step 2: Remove the Lower Leaves
Hold the top section of the plant and carefully peel away the bottom two or three leaves. These leaves are unlikely to develop roots and are better composted. Removing them also exposes more of the stem, which improves the chances of successful propagation.
Step 3: Harvest the Cuttings
Select a healthy leaf from the top portion and make two small vertical cuts in the stem just below it. Gently pull the leaf away, making sure a small section of the stem remains attached. This part of the stem is crucial as it encourages root growth. Repeat this process for as many cuttings as you’d like to propagate.
Step 4: Let the Cuttings Callus Over
Lay the harvested cuttings on a plate in a warm, bright spot for a few days, allowing the cut ends to dry and form a protective callus. This step is essential to prevent rot when the cuttings are eventually planted.
Step 5: Wait for Pups to Grow
Unlike traditional cuttings that develop roots directly, aloe vera cuttings produce small pups at the base of the leaf before rooting. This process usually takes a couple of weeks, during which the pups rely on moisture stored in the leaf. Avoid watering at this stage, as excess moisture can cause the cuttings to rot before they establish roots.
Step 6: Plant the New Pups
After a month or two, you should see small pups forming roots. At this point, they’re ready to be planted. Prepare a pot with a well-draining succulent mix and gently place the pups on top of the soil, ensuring the roots make contact with the surface. Keep the pot in bright, indirect light, and wait a few more days before watering.
Over time, the old leaf will shrivel away, and the new aloe plant will start growing independently. Once they establish themselves, care for them as you would a mature aloe vera plant, providing occasional watering and plenty of sunlight.
This method requires a little patience, but it’s a great way to give new life to struggling aloe plants while expanding your collection!
Growing Aloe Vera from Seeds (For the Patient Gardener)
Growing aloe vera from seeds takes patience, but it’s a rewarding way to start fresh—especially if you don’t have access to pups or cuttings. While this method takes longer than other propagation techniques, it allows you to grow multiple plants at once and even experiment with different aloe species.
Aloe vera plants need to be at least four years old before they start flowering, and even then, getting them to bloom indoors can be tricky. However, if you have a mature plant that flowers, you can collect its seeds and grow new plants from scratch.
Step 1: Harvest the Seeds
Mature aloe vera plants produce tall flower stalks, usually in shades of yellow, orange, or red. Once the flowers fade, they develop small seed pods. Allow these pods to dry out on the plant before harvesting the seeds.
To collect the seeds, gently remove the dried pods and open them over a plate or paper towel. Aloe seeds are small, dark, and slightly flat. Make sure they are completely dry before planting. If you don’t have your aloe flowers, you can also purchase seeds from a reputable seller.
Step 2: Prepare the Soil and Plant the Seeds
Aloe seeds need well-draining soil to thrive. Use a pre-moistened succulent mix, or make your own by combining equal parts potting soil, sand, and perlite. Fill seed trays or small pots with this mix and lightly press the seeds into the surface—don’t bury them too deep, as they need light to germinate.
For better results, cover the pots with a thin layer of sand or fine gravel. This helps retain some moisture while still allowing air circulation, preventing mold or rot.
Step 3: Provide Light and Water
Aloe vera seeds need warmth and consistent moisture to sprout. Place the seed trays in a bright location with at least 8–10 hours of indirect sunlight daily. If natural light is insufficient, consider using a grow light.
Keep the soil slightly damp but never soggy—too much water can cause fungal growth or seed rot. A spray bottle works best for misting the soil gently. Maintain a warm environment, ideally around 70–75°F (21–24°C), as aloe seeds germinate best in warm conditions.
Step 4: Wait for Sprouts to Appear
Patience is key! Aloe seeds typically take 2–4 weeks to germinate, but some may take longer. Once tiny aloe plants start emerging, continue to provide bright light and keep the soil lightly moist.
When the seedlings grow a few inches tall and develop a couple of sets of leaves, they’re ready for transplanting. Gently move them to individual small pots with well-draining soil. Avoid overwatering at this stage—watering once every 10–14 days is enough until they establish strong roots.
Step 5: Care for Your Aloe Seedlings
As your seedlings grow, continue providing them with bright light and occasional watering. Unlike mature aloe plants, young seedlings need more moisture but should never sit in waterlogged soil.
Once they reach a few inches in height, you can start treating them like mature aloe vera plants. Gradually introduce them to direct sunlight and space out watering sessions to mimic their natural desert conditions.
Growing aloe from seeds requires time, but it’s a fascinating process that allows you to watch your plants develop from the very beginning. Plus, if you grow multiple seedlings, you can share them with friends or expand your indoor succulent garden!
Caring for Your New Aloe Vera Plants
Once your aloe vera plants are established, proper care ensures they thrive for years. Aloe vera is a hardy, low-maintenance plant, but it still requires the right conditions to stay healthy and grow beautifully.
Light: Provide Bright, Indirect Sunlight
Aloe vera loves bright, indirect sunlight. A south- or west-facing window is ideal, but too much direct sun—especially during peak afternoon hours—can cause the leaves to turn brown or develop sunburned spots. If your plant gets too much sun, move it to a location with filtered light.
If you’re growing aloe indoors and your home doesn’t get enough natural light, consider using a grow light to supplement sunlight, especially in winter. Aloe vera needs at least 6–8 hours of light daily to thrive.
Watering: Less is More
Aloe vera is drought-tolerant and doesn’t require frequent watering. The best way to keep your aloe healthy is to let the soil dry out completely between waterings. Depending on the climate and season, this could mean watering every 2–3 weeks.
Overwatering is the number one killer of aloe plants, leading to root rot. If the leaves look mushy or start turning yellow, reduce watering immediately. Always use a pot with drainage holes to prevent excess moisture from accumulating.
Tip: If you’re unsure whether your aloe needs water, stick your finger into the soil about an inch deep—if it’s dry, it’s time to water.
Soil: Well-Draining Mix is Essential
Aloe vera thrives in well-draining soil that mimics its natural desert environment. Use a pre-made succulent or cactus mix or create your own by combining:
✔ 2 parts potting soil
✔ 1 part sand
✔ 1 part perlite or pumice
Avoid heavy, moisture-retaining soils, as they hold too much water and increase the risk of root rot.
Temperature & Humidity: Keep it Warm
Aloe vera prefers warm temperatures between 60–80°F (16–27°C). Keep it away from cold drafts, air conditioning vents, or sudden temperature changes, which can stress the plant.
Since aloe vera is a desert plant, it doesn’t need high humidity. If you live in a humid area, ensure proper air circulation around the plant to prevent fungal issues.
Fertilizing: Minimal Feeding Needed
Aloe vera doesn’t require frequent fertilization, but feeding it occasionally can boost growth. Use a diluted succulent fertilizer or a balanced liquid fertilizer (such as 10-10-10) once every 2–3 months during the growing season (spring and summer). Avoid fertilizing in winter when the plant is dormant.
Repotting: Give Your Aloe Room to Grow
As your aloe vera grows, it may outgrow its pot or become root-bound. If the plant appears top-heavy, has slow growth, or roots are poking out of the drainage holes, it’s time for a new pot.
How to Repot Aloe Vera:
- Choose a slightly larger pot with drainage holes. Terra-cotta pots work best since they help absorb excess moisture.
- Gently remove the plant from its current pot, shaking off excess soil.
- Place the aloe in its new pot and fill with a fresh, succulent mix.
- Allow the plant to settle for a few days before watering.
Common Aloe Vera Problems & Solutions
- Yellow or Mushy Leaves → Overwatering; let the soil dry out completely before watering again.
- Brown, Crispy Leaf Tips → Too much direct sunlight; move to a spot with filtered light.
- Soft, Drooping Leaves → Root rot or overwatering; check the roots and remove any blackened, mushy sections.
- Thin, Stretched-Out Leaves → Not enough light; move to a brighter spot.
By following these simple care tips, you can propagate aloe vera successfully and enjoy a thriving collection of these beautiful, low-maintenance plants. Aloe vera not only enhances your home with its striking, fleshy leaves but also provides a soothing gel for minor burns and skin care.