

Caulking is one of the most versatile and useful tools in any DIYer or professional’s toolbox. Whether you are sealing gaps around windows and doors, fixing leaks in bathrooms, or completing any other home improvement project, caulk serves as a reliable solution. However one common question many people have when using caulk is, “How long does it take for caulk to dry?
The drying time of caulk can vary based on a number of factors, including the type of caulk, environmental conditions, and the application method. While caulking might seem straightforward, understanding the nuances of drying and curing can ensure that your job is completed properly and lasts for years to come.
In this blog, we’ll dive into the difference between drying and curing times, explore the various types of caulk and their specific drying times, and provide tips on how to ensure your caulking job is done right, with a long-lasting, effective seal.
Table of Contents
ToggleWhat is Caulk and Why is it Important?
Caulk is a flexible, waterproof material used to seal joints and gaps around various surfaces, such as between countertops and backsplashes, around windows and doors, and in bathrooms or kitchens. It’s used to prevent drafts, moisture intrusion, and pests from entering your home, thus improving both energy efficiency and the overall comfort of your space.
Drying Time vs. Curing Time
Many DIYers want to know how long it takes for caulk to dry, but what they are really asking is how long it takes to cure. The terms ‘drying’ and ‘curing’ are often used interchangeably, but they mean different things.
Drying is the process where moisture and water evaporate from the caulk, forming a dry surface that you can touch. This usually takes between 30 minutes and two hours, depending on the type of caulk. But even when dry to the touch, the caulk isn’t strong enough to resist damage and is still sensitive to moisture until it fully cures.
Curing takes much longer than drying. It’s the process where the caulk hardens completely and forms a solid, waterproof seal. Curing starts once the caulk is exposed to air and continues until it’s fully set. For most caulks, curing takes about 24 to 48 hours, but some types may take up to 12 days to fully cure.
Drying Time by Types of Caulk
The drying time of caulk varies depending on its type: acrylic-latex, siliconized acrylic-latex, or 100% silicone.
Acrylic-Latex Caulk
Acrylic-latex caulk dries and is ready for painting or use about two hours after application, and it fully cures in 24 hours. It becomes tack-free and dry to the touch in about 30 minutes.
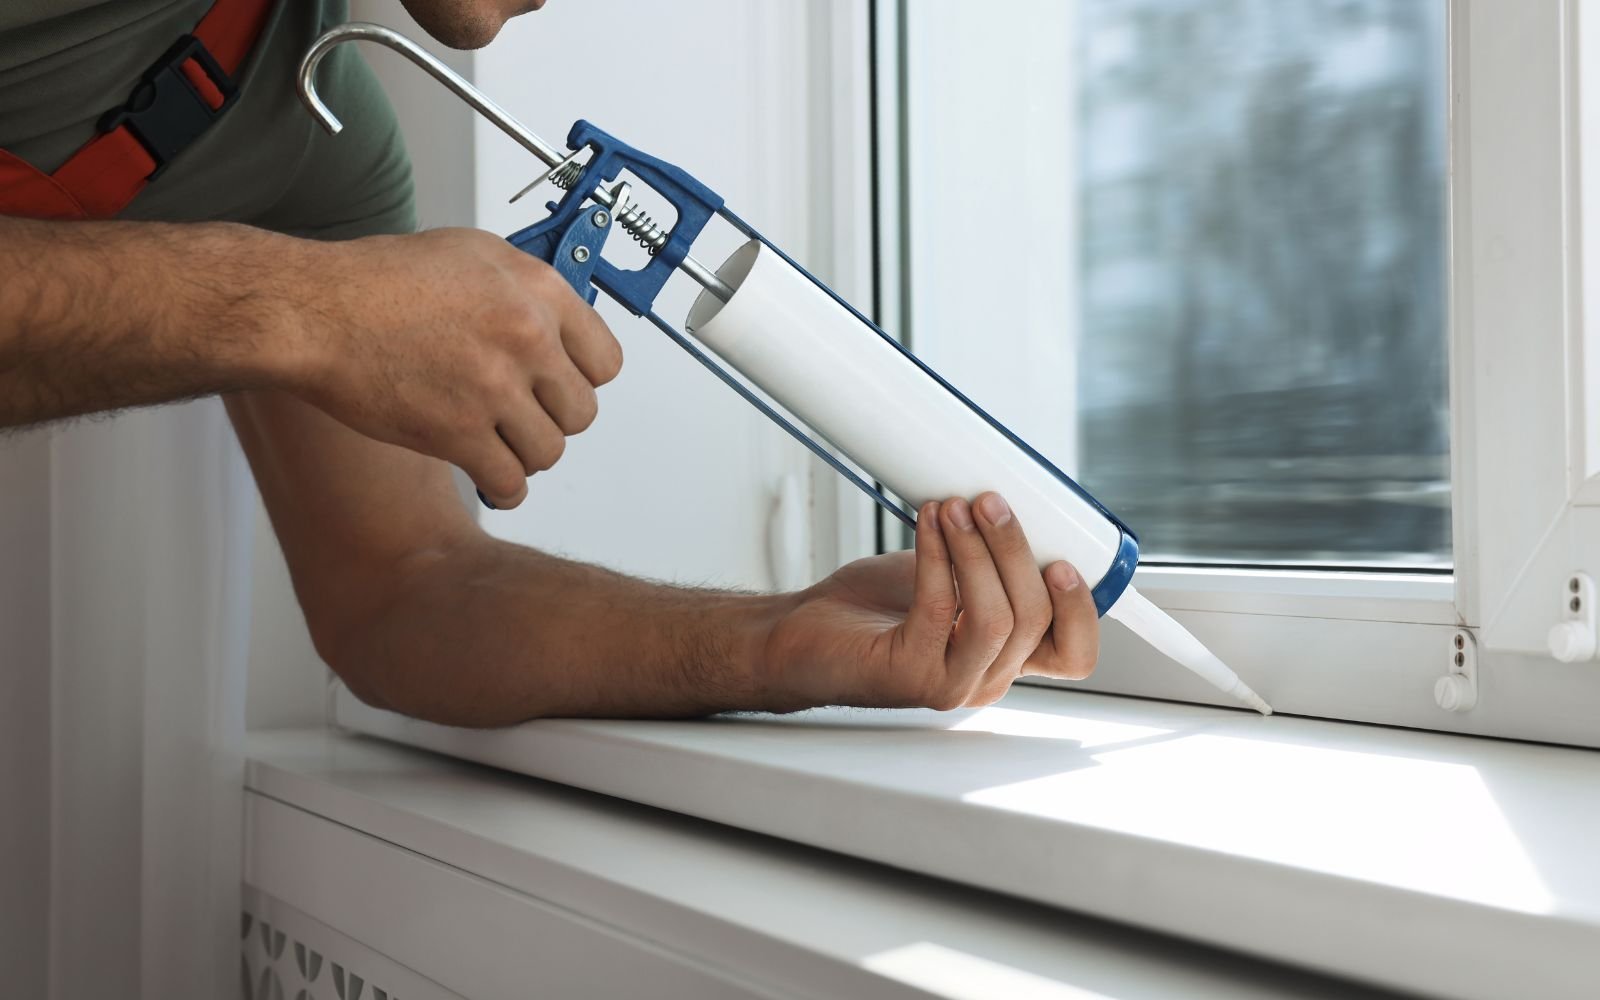
This type of caulk has a low odor and is easy to clean up with water. Since it’s paintable, it’s commonly used for caulking windows, drywall, trim, and around the tops of baseboards.
Popular brands of acrylic-latex caulk include:
- DAP Alex Painter’s Acrylic Latex Caulk
- Titebond Pro-Grade Caulk
- Loctite All Purpose Paintable Latex Caulk
Siliconized Acrylic-Latex Caulk
Siliconized acrylic-latex caulk becomes tack-free in 30 minutes, paintable in two hours, and fully cures in 24 hours. This type has added silicone for improved flexibility, better adhesion, and less shrinkage compared to regular acrylic-latex caulk.
Silicone Caulk
Silicone caulk is ready to use just 30 minutes after application and is water-ready. However, it can’t be painted. It dries to the touch in about 10 to 25 minutes.
Silicone caulk is commonly used for sealing tubs, sinks, showers, pipes, gutters, and HVAC ducts.
Here’s a quick overview of drying and curing times:
|
Type of Caulk |
Drying Time | Curing Time |
| Acrylic-Latex | 30 minutes to 2 hours |
24 hours |
|
Siliconized Acrylic-Latex |
30 minutes to 2 hours | 24 hours |
| Silicone | 30 minutes |
24 hours |
Factors Impacting Caulk Drying Time
Understanding the factors that impact caulk drying time can help you make adjustments for better results. Here’s what you need to know about thickness, ventilation, temperature, humidity, and product freshness.
Thickness Of Application : The thickness of the caulk layer plays a significant role in how long it will take to cure. The thicker the caulk layer, the longer it will take to completely dry and set. To ensure a faster cure and better results, it’s best to apply the caulk in thin, even lines, unless the specific job requires a thicker application. Thicker layers can sometimes cause uneven curing, so keep this in mind when applying caulk for the best finish.
Ventilation : Proper ventilation can help speed up the drying and curing process. Good air circulation around the area where you applied the caulk helps remove excess moisture, allowing the caulk to cure more quickly. If you’re working in an enclosed space, be sure to have windows open or use a fan to create air flow. This is especially important for areas with high humidity, where ventilation can make a big difference in how quickly the caulk sets.
Temperature : Most caulks are best applied in a temperature range of 40°F to 77°F (about 4°C to 25°C). While higher temperatures can help speed up the curing process, it’s important to avoid applying direct heat to the caulk, as this can cause it to dry too quickly or unevenly. If you’re working in very cold conditions, caulk may take longer to set, so try to apply it in a temperature-controlled environment whenever possible for best results.
Humidity : Humidity can have a significant impact on how quickly caulk cures, depending on its type. Silicone-based caulks actually cure by reacting with moisture in the air, so higher humidity can help them set faster. Acrylic-latex caulks, on the other hand, require dry air to cure properly. Excessive moisture in the air can slow down the curing process and even make the caulk stickier for longer than normal. It’s important to consider the temperature and humidity levels of the area you’re working in for optimal results.
Product Freshness : Before applying caulk, always check the expiration date, even if the tube is still sealed. Expired caulk will not cure properly, no matter how carefully you apply it. Expired product can remain soft, sticky, or tacky, leading to poor adhesion and a substandard finish. Be sure to use fresh caulk to ensure it cures completely and performs as expected.
Tips to Help Caulk Dry Faster
When you’re working with caulk, waiting for it to dry can be frustrating. To minimize wait times and maximize efficiency, follow these helpful tips for faster drying and smoother results.
Use Thin Beads: Thicker beads of caulk take much longer to dry and cure. To speed up the process, try to apply thinner, more even beads—aim for about 1/4-inch thick or less. Thin lines allow the caulk to dry more quickly and evenly, giving you better results in less time.
Use a Dehumidifier: If the humidity level is above 50%, it can slow down the drying process. To combat this, turn on a dehumidifier to reduce moisture in the air. Lower humidity helps caulk dry faster, especially in areas where natural airflow isn’t sufficient.
Use a Backer Rod for Deep Joints: If you’re working with joints that are over 1/2-inch deep, the caulk will take much longer to fully cure. Instead of filling deep gaps with just caulk, use a foam backer rod to fill the majority of the space. This reduces the amount of caulk needed, speeds up the curing process, and ensures the caulk adheres better.
Wait to Paint: While caulk may be paintable within 30 to 45 minutes, it’s always better to give it as much time as possible to fully cure before painting. Waiting around 24 hours ensures the caulk is completely dry, preventing any issues with paint adhesion or surface imperfections. Patience here results in a smoother, longer-lasting finish.
Common Problems and Solutions
Caulking can sometimes be trickier than it looks. If you’re running into issues with drying or curing, here are a few common problems and how to fix them:
Caulk Won’t Dry or Cure Properly : If your caulk isn’t drying or curing as expected, take a look at the humidity, temperature, and ventilation in the area. Make sure you’re using the right type of caulk for the job, as different caulks behave differently depending on the conditions.
Caulk Peels or Cracks : If your caulk cracks or peels after it dries, it could be due to incorrect application or harsh conditions like extreme temperatures or excessive moisture. Double-check the environment and make sure the caulk is applied evenly and in the right conditions.
Caulk Doesn’t Stick : If the caulk isn’t sticking, it might be because the surface wasn’t properly cleaned before application. Dirt, dust, or oils on the surface can stop the caulk from adhering properly, so make sure to clean the area thoroughly before you start.
How to Apply Caulk Like a Pro?
Applying caulk may seem simple, but doing it like a pro requires the right tools, techniques, and a little patience. Whether you’re sealing gaps around your bathtub, windows, or baseboards, following these step-by-step instructions will ensure a clean, professional finish. Let’s dive into the process and make your caulking project a success!
- Gather Your Supplies: You’ll need caulk, a caulk gun, a utility knife, a damp cloth, and painter’s tape (optional).
- Prepare the Surface: Clean the area thoroughly and remove any old caulk. Make sure the surface is dry before applying a new caulk.
- Cut the Caulk Tube Tip: Use a utility knife to cut the tip of the caulk tube at a 45-degree angle. Start with a small hole—you can always make it larger if needed.
- Load the Caulk Gun: Insert the caulk tube into the gun and push the plunger until the caulk comes out of the tip.
- Apply the Caulk: Hold the gun at a 45-degree angle and apply a steady, even bead of caulk. Use painter’s tape to create clean edges if desired.
- Smooth the Caulk: Dip your finger in water or use a caulk smoothing tool to smooth the bead and remove excess caulk.
- Clean Up: Wipe away any excess caulk with a damp cloth before it dries.
- Let It Dry: Allow the caulk to dry and cure according to the manufacturer’s instructions.
FAQS:-
- Can I speed up the drying time of the caulk?
To expedite caulk drying time, maintain a warm temperature and ensure good air circulation in the area. Using a fan or dehumidifier can help. However, it’s important not to rush the process beyond the manufacturer’s recommendations.
- How soon can I paint over the caulk?
You should wait two to four hours before painting over the caulk. Painting the caulk before it has fully dried will smear the caulk. Encapsulating the caulk while it is still drying will slow its drying and curing time.
- Do you have to wait 24 hours for the caulk to dry?
Yes. If the instructions on the label tell you to wait 24 hours, you should wait for the full amount of time before continuing on with the rest of your project (or showing and bathing if you caulked in your bathroom). If you don’t give caulk time to fully dry, it may not cure or adhere correctly. In that case, you’ll be replacing that new caulk a lot sooner than you want to.